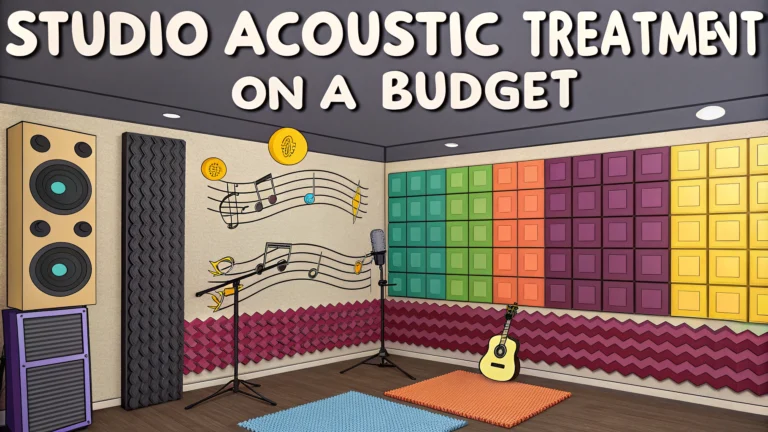
Creating a professional-sounding podcast requires more than just good equipment – the acoustics of your recording space play a major role in audio quality.
While professional acoustic treatment can cost thousands of dollars, there are several budget-friendly DIY solutions that can dramatically improve your recording environment.
This quick guide covers practical ways to treat your home studio acoustics without breaking the bank, using readily available materials and simple techniques.
Understanding Room Acoustics Basics
Sound waves bounce off hard surfaces like walls and windows, creating echoes and reverberations that can muddy your recordings.
- First reflections – sound bouncing directly off nearby surfaces
- Flutter echo – repeated reflections between parallel walls
- Room modes – natural resonant frequencies of your space
Budget-Friendly Acoustic Treatment Solutions
Moving blankets make excellent DIY acoustic panels when hung on walls or used as portable baffles ($15-30 each on Amazon).
Foam mattress toppers can be cut to size and covered with fabric for effective acoustic panels ($20-40 per panel).
Heavy curtains help reduce reflections from windows and can be found at most home goods stores ($30-50 per panel).
DIY Bass Traps
Corner bass traps can be made using rigid fiberglass insulation wrapped in breathable fabric ($40-60 per trap).
- Place in room corners from floor to ceiling
- Use safe handling procedures with fiberglass
- Cover with acoustically transparent fabric
Strategic Placement of Treatment
Focus first on treating first reflection points – where sound first bounces between your microphone and walls.
- Behind your recording position
- Side walls at microphone height
- Ceiling above recording area
Everyday Items as Acoustic Treatment
Common household items can help improve acoustics:
- Bookshelves filled with books
- Soft furniture like couches and chairs
- Area rugs on hard floors
- Tapestries and wall hangings
Room Setup Tips
Position your recording setup away from walls and corners to minimize early reflections.
Avoid perfectly rectangular rooms when possible – odd shapes help diffuse sound.
Keep your microphone away from computer fans and other noise sources.
Next Steps for Your Studio
Start with basic treatment in your primary recording area and expand as budget allows.
Test your room’s acoustics by recording voice samples before and after adding treatment.
Consider joining online podcasting communities for specific advice about your space (r/podcasting).
| Treatment Type | Estimated Cost | Effectiveness |
|---|---|---|
| Moving Blankets | $15-30 each | Good for mid/high frequencies |
| DIY Bass Traps | $40-60 each | Excellent for low frequencies |
| Heavy Curtains | $30-50 each | Moderate for all frequencies |
Testing Your Acoustic Treatment
Record short voice samples in different positions to evaluate your acoustic improvements:
- Test from various distances and angles to your mic
- Listen for echo reduction and clarity improvements
- Compare recordings with and without treatment
Maintaining Your Acoustic Environment
Regular maintenance ensures consistent recording quality:
- Dust and vacuum acoustic panels regularly
- Check wall-mounted treatments for secure attachment
- Replace damaged or compressed materials as needed
- Adjust treatment position based on seasonal changes
Common Issues to Watch For
Monitor these potential problems in your treated space:
- Sagging panels or loose fabric coverings
- Gaps between acoustic treatments
- New sources of ambient noise
- Changes in room humidity affecting materials
Building Your Studio Over Time
Start with essential treatments and expand systematically:
- Begin with basic reflection point coverage
- Add bass trapping in corners
- Incorporate diffusion elements
- Upgrade materials as budget allows
Creating Professional Sound at Home
Remember that acoustic treatment is an ongoing process – start with these budget-friendly solutions and refine your setup based on your specific needs and recording results.
Regular testing and adjustment of your acoustic treatment will help maintain optimal recording conditions for your podcast, ensuring professional sound quality without the professional studio price tag.
Join online communities and share your DIY acoustic treatment solutions with fellow podcasters to continue learning and improving your recording space.
FAQs
- What are the most cost-effective materials for DIY acoustic treatment?
Moving blankets, thick curtains, acoustic foam panels, and recycled denim insulation are among the most budget-friendly options for basic acoustic treatment. Mineral wool insulation panels wrapped in fabric are also effective and affordable. - Where should I place acoustic treatment panels in my studio?
Focus first on early reflection points – the side walls, ceiling, and rear wall where sound first bounces. Treat the corners with bass traps, and address the wall directly behind your listening position. - How much acoustic treatment do I need for a basic podcast setup?
For a typical small room (10×10 feet), start with 4-6 panels at first reflection points, 2-4 bass traps in corners, and 1-2 panels behind the recording position. This provides a good foundation for clear recordings. - Can I use egg cartons for acoustic treatment?
No, egg cartons are ineffective for acoustic treatment. They’re too thin and light to absorb significant sound energy, especially in lower frequencies that typically cause recording problems. - What’s the minimum budget needed for basic acoustic treatment?
A basic acoustic treatment setup can be achieved for $200-300, including DIY absorption panels, some bass trapping, and basic diffusion elements. - Should I completely cover my walls with acoustic panels?
No, over-treating a room can make it sound unnaturally dead. Aim to cover approximately 25-40% of your wall space, focusing on problem areas and reflection points. - How can I test if my acoustic treatment is working?
Record a voice test before and after treatment, listen for echo and reverb reduction. You can also use a simple clap test – if you hear a clean, short decay instead of flutter echoes, your treatment is working. - What’s the difference between absorption and diffusion panels?
Absorption panels remove sound energy by converting it to heat, while diffusion panels scatter sound waves in different directions. Absorption is typically more important for podcast recording spaces. - Can I make effective bass traps at home?
Yes, effective bass traps can be built using rigid fiberglass or mineral wool insulation (minimum 4 inches thick), wrapped in breathable fabric and mounted in corners where low frequencies accumulate. - How high should I mount acoustic panels on my walls?
Mount panels at ear level when seated, typically between 3-5 feet from the floor, as this is where most critical listening and recording occurs.


